
스마트시대
AUTHENTICATION 4.6 Email Screen 4.7 Password Screen 4.8 Birthday Screen 4.9 Login Form 본문
Programing/Flutter
AUTHENTICATION 4.6 Email Screen 4.7 Password Screen 4.8 Birthday Screen 4.9 Login Form
스마트시대 2023. 5. 6. 01:31728x90
4.6 Email Screen
    super.dispose();
  }

------------------
// 이메일이 유효한지 체크하는 메서드 만들기
  String? _isEmailValid() {
    if (_email.isEmpty) return null;
    // 비어 있지 않다면 검증 진행(정규식으로). 결과에 따라 에러 반환
    final regExp = RegExp(
      r"^[a-zA-Z0-9.a-zA-Z0-9.!#$%&'*+-/=?^_`{|}~]+@[a-zA-Z0-9]+\.[a-zA-Z]+",
    );
    if (!regExp.hasMatch(_email)) {
      return "Email Not valid";
    }
    return null; // else
  }

------------------
  @override
  Widget build(BuildContext context) {


                decoration: InputDecoration(
                hintText: "Email",

                ------------------
                // 이메일 유효한지, 에러 사항 체크
                errorText: _isEmailValid(),
                ------------------

                // 글자 밑 부분 border 회색으로 바꿔주려면 이 2개 필요
                enabledBorder: UnderlineInputBorder(
유저가 보는 키보드의 유형을 수정하는 방법

    return null; // else
  }

  ----------------
  // 글 쓸 때 대기중(focus)와 커서 사라질 때의 메서드(unfocus)
  void _onScaffoldTap() {
    FocusScope.of(context).unfocus();
  }
  ----------------

  @override

Widget build(BuildContext context) {

  ----------------
    return GestureDetector(
      // 글 쓸 때 대기중(focus)와 커서 사라질 때의 메서드(unfocus)
      onTap: _onScaffoldTap,
      child: Scaffold(
      ----------------

        backgroundColor: Colors.white,
        appBar: AppBar(

// TextEditingController 함수 만들었으니 여기다 정의
              controller: _emailController,
----------------
              // 유저가 보는 키보드의 유형을 수정하는 방법
              keyboardType: TextInputType.emailAddress,
              autocorrect: false,
----------------

              decoration: InputDecoration(
이메일 형태가 아닌데도 next버튼 눌러지는거 막기
                cursorColor: Theme.of(context).primaryColor,
              ),
              Gaps.v28,

              // Next button 만들기 ||:or, ->이메일 형태가 아닌데도 next버튼 눌러지는거 막기
              FormButton(
                disabled: _email.isEmpty ||
                _isEmailValid() != null
              ),
            ],
// next button이나 Done 눌렀을 때 넘어가는 함수와 파라메터
  // next button이나 Done 눌렀을 때 넘어가는 함수
  void _onSubmit() {
    if (_email.isEmpty || _isEmailValid() != null) return;
    Navigator.push(
      context,
      MaterialPageRoute(
        builder: (context) => const PasswordScreen(),
      ),
    );
  }
--------------

  @override
  Widget build(BuildContext context) {


// 유저가 보는 키보드의 유형을 수정하는 방법
                keyboardType: TextInputType.emailAddress,
                autocorrect: false,

--------------
                //Done 눌렀을 때 넘어가는 파라메터
                onEditingComplete: _onSubmit,
--------------

                decoration: InputDecoration(
                  hintText: "Email",

       --------------
        // Next button 만들기 ||:or, ->이메일 형태가 아닌데도 next버튼 눌러지는거 막기
              GestureDetector(
                onTap: _onSubmit,
                child: FormButton(
                  disabled: _email.isEmpty || _isEmailValid() != null,
                ),
              ),
            ],
and create password_screen.dart
import 'package:flutter/material.dart';

class PasswordScreen extends StatelessWidget {
  const PasswordScreen({super.key});

  @override
  Widget build(BuildContext context) {
    return const Scaffold();
  }
}

4.7 Password Screen
email_screen내용 활용하고
패스워드 관련 아이콘 만들기
// _password 정의하기
String _password = "";
--------------
// 아이콘 보여주고 말고를 정의해주는 state만들고 class에 넣어주기
bool _obscureText = true;
--------------
// next button이나 Done 눌렀을 때 넘어가는 함수
void _onSubmit() {
--------------
// 이메일이랑 다르게 null 값 없으니 null이랑 password empty 항목 지우기
if (!_isPasswordValid()) return;
--------------
Navigator.push(
context,
MaterialPageRoute(
builder: (context) => const PasswordScreen(),
),
);
}
--------------
Navigator.push(
context,
builder: (context) => const PasswordScreen(),
),
);
}
--------------
// password 8자 이상 만들기
bool _isPasswordValid() {
return _password.isNotEmpty && _password.length > 8;
}
--------------
// 글 쓸 때 대기중(focus)와 커서 사라질 때의 메서드(unfocus)
--------------
//X 누르면 내용 클리어해주는 함수
void _onClearTap() {
_passwordcontroller.clear();
}
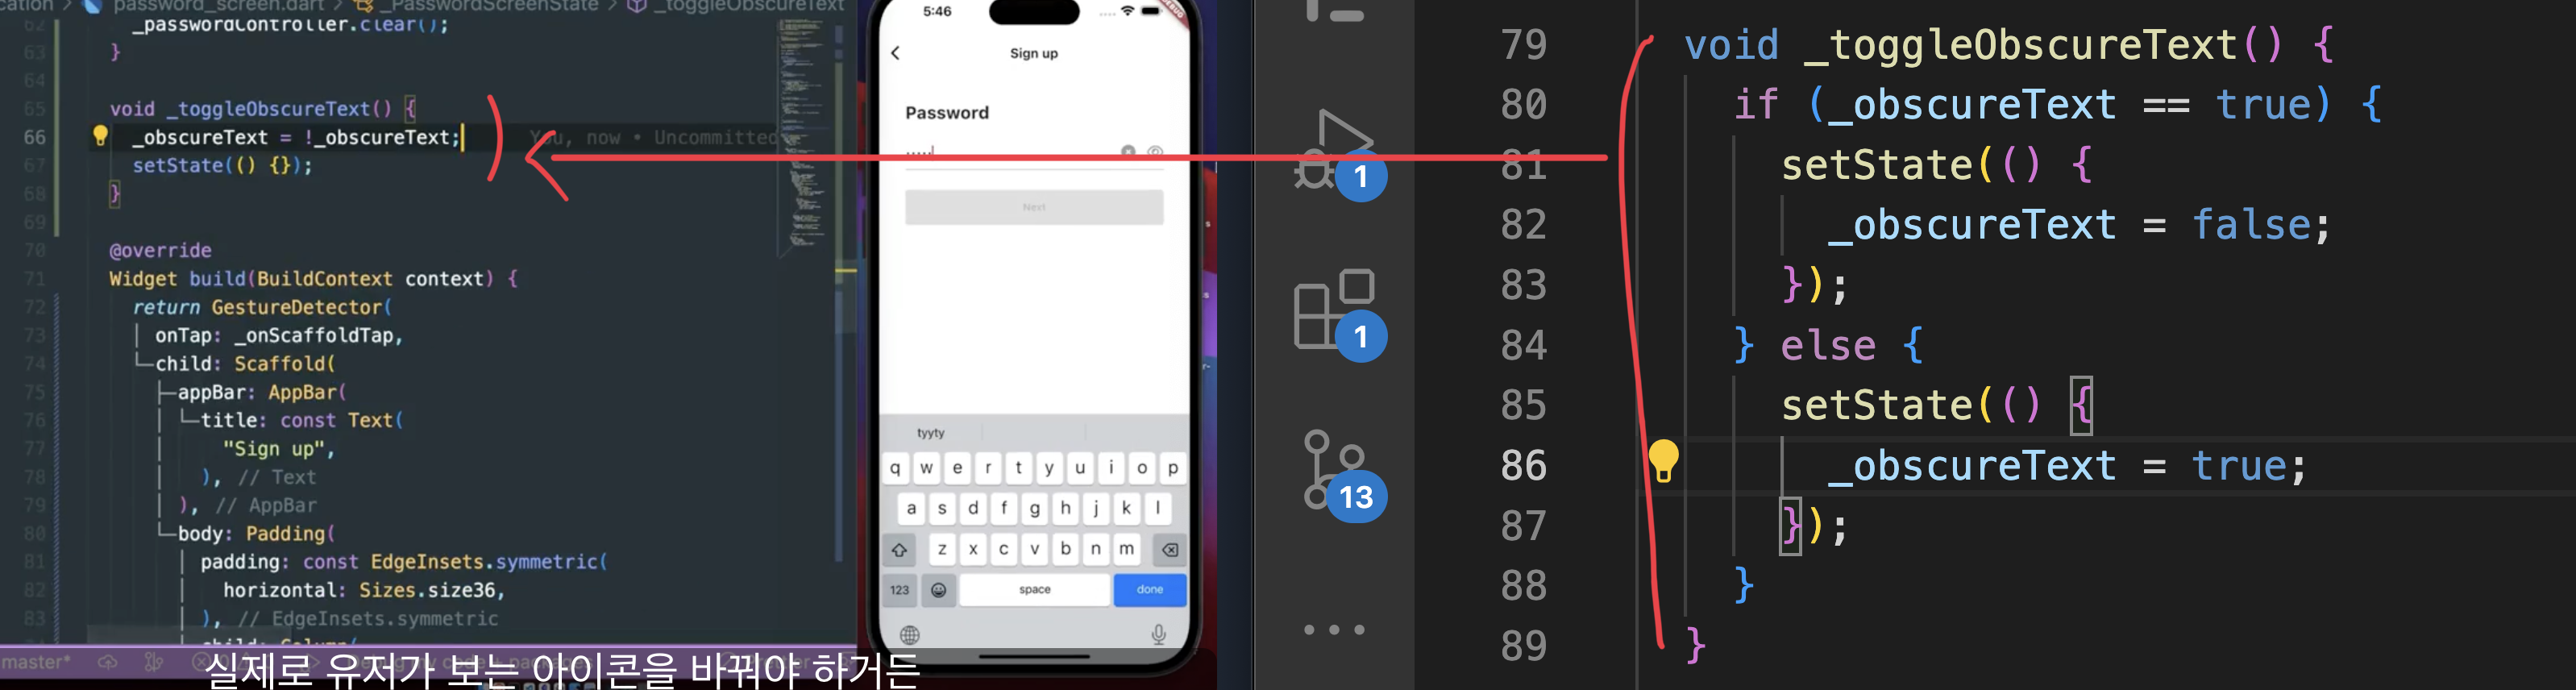
//눈 아이콘 누를 때 비번 보여주는 함수
void _toggleObscureText() {
_obscureText = !_obscureText;
setState(() {});
}
--------------
TextField(
// TextEditingController 함수 만들었으니 여기다 정의
controller: _passwordcontroller,
//Done 눌렀을 때 넘어가는 파라메터
onEditingComplete: _onSubmit,
----------------------------
//비밀번호 입력하듯이 해주는 설정
obscureText: _obscureText,
--------------
autocorrect: false,
decoration: InputDecoration(
-------------------
// password관련 아이콘
suffix: Row(
// 왼쪽에 있던 password관련 아이콘 오른쪽으로 이동시키기
mainAxisSize: MainAxisSize.min,
children: [
GestureDetector(
onTap: _onClearTap,
child: FaIcon(
FontAwesomeIcons.solidCircleXmark,
color: Colors.grey.shade500,
size: Sizes.size20,
),
),
Gaps.h16,
GestureDetector(
onTap: _toggleObscureText,
child: FaIcon(
_obscureText
? FontAwesomeIcons.eye
: FontAwesomeIcons.eyeSlash,
color: Colors.grey.shade500,
size: Sizes.size20,
),
),
],
),
--------------------
hintText: "Make it strong",
// 이메일 유효한지, 에러 사항 체크: 이거는 하면 안되니까 지웠음
cursorColor: Theme.of(context).primaryColor,
),
-------------- ---------------------------- --------------
Gaps.v10,
const Text(
"Your password must have",
style: TextStyle(
fontWeight: FontWeight.bold,
),
),
Gaps.h10,
Row(
children: [
FaIcon(
FontAwesomeIcons.circleCheck,
size: Sizes.size20,
color: _isPasswordValid()
? Colors.green
: Colors.grey.shade400,
),
Gaps.h5,
const Text("8 to 20 characters")
],
),
-------------- --------------
Gaps.v28,
onTap: _onSubmit,
child: FormButton(
-------------- --------------
// 이메일이랑 다르게 null 값 없으니 null이랑 password empty 항목 지우기
// formbutton이 disabled되는 건 비번 8자 안됐을 때니까 ! 붙여주기
disabled: !_isPasswordValid(),
),
),
가독성 높이기 위해
4.8 Birthday Screen
password_screen.dart사용해주고
Birthday Screen.dart

이벤트 리스너 관련 코드는 다 없애주기
final TextEditingController _BirthdayController = TextEditingController();
------------------
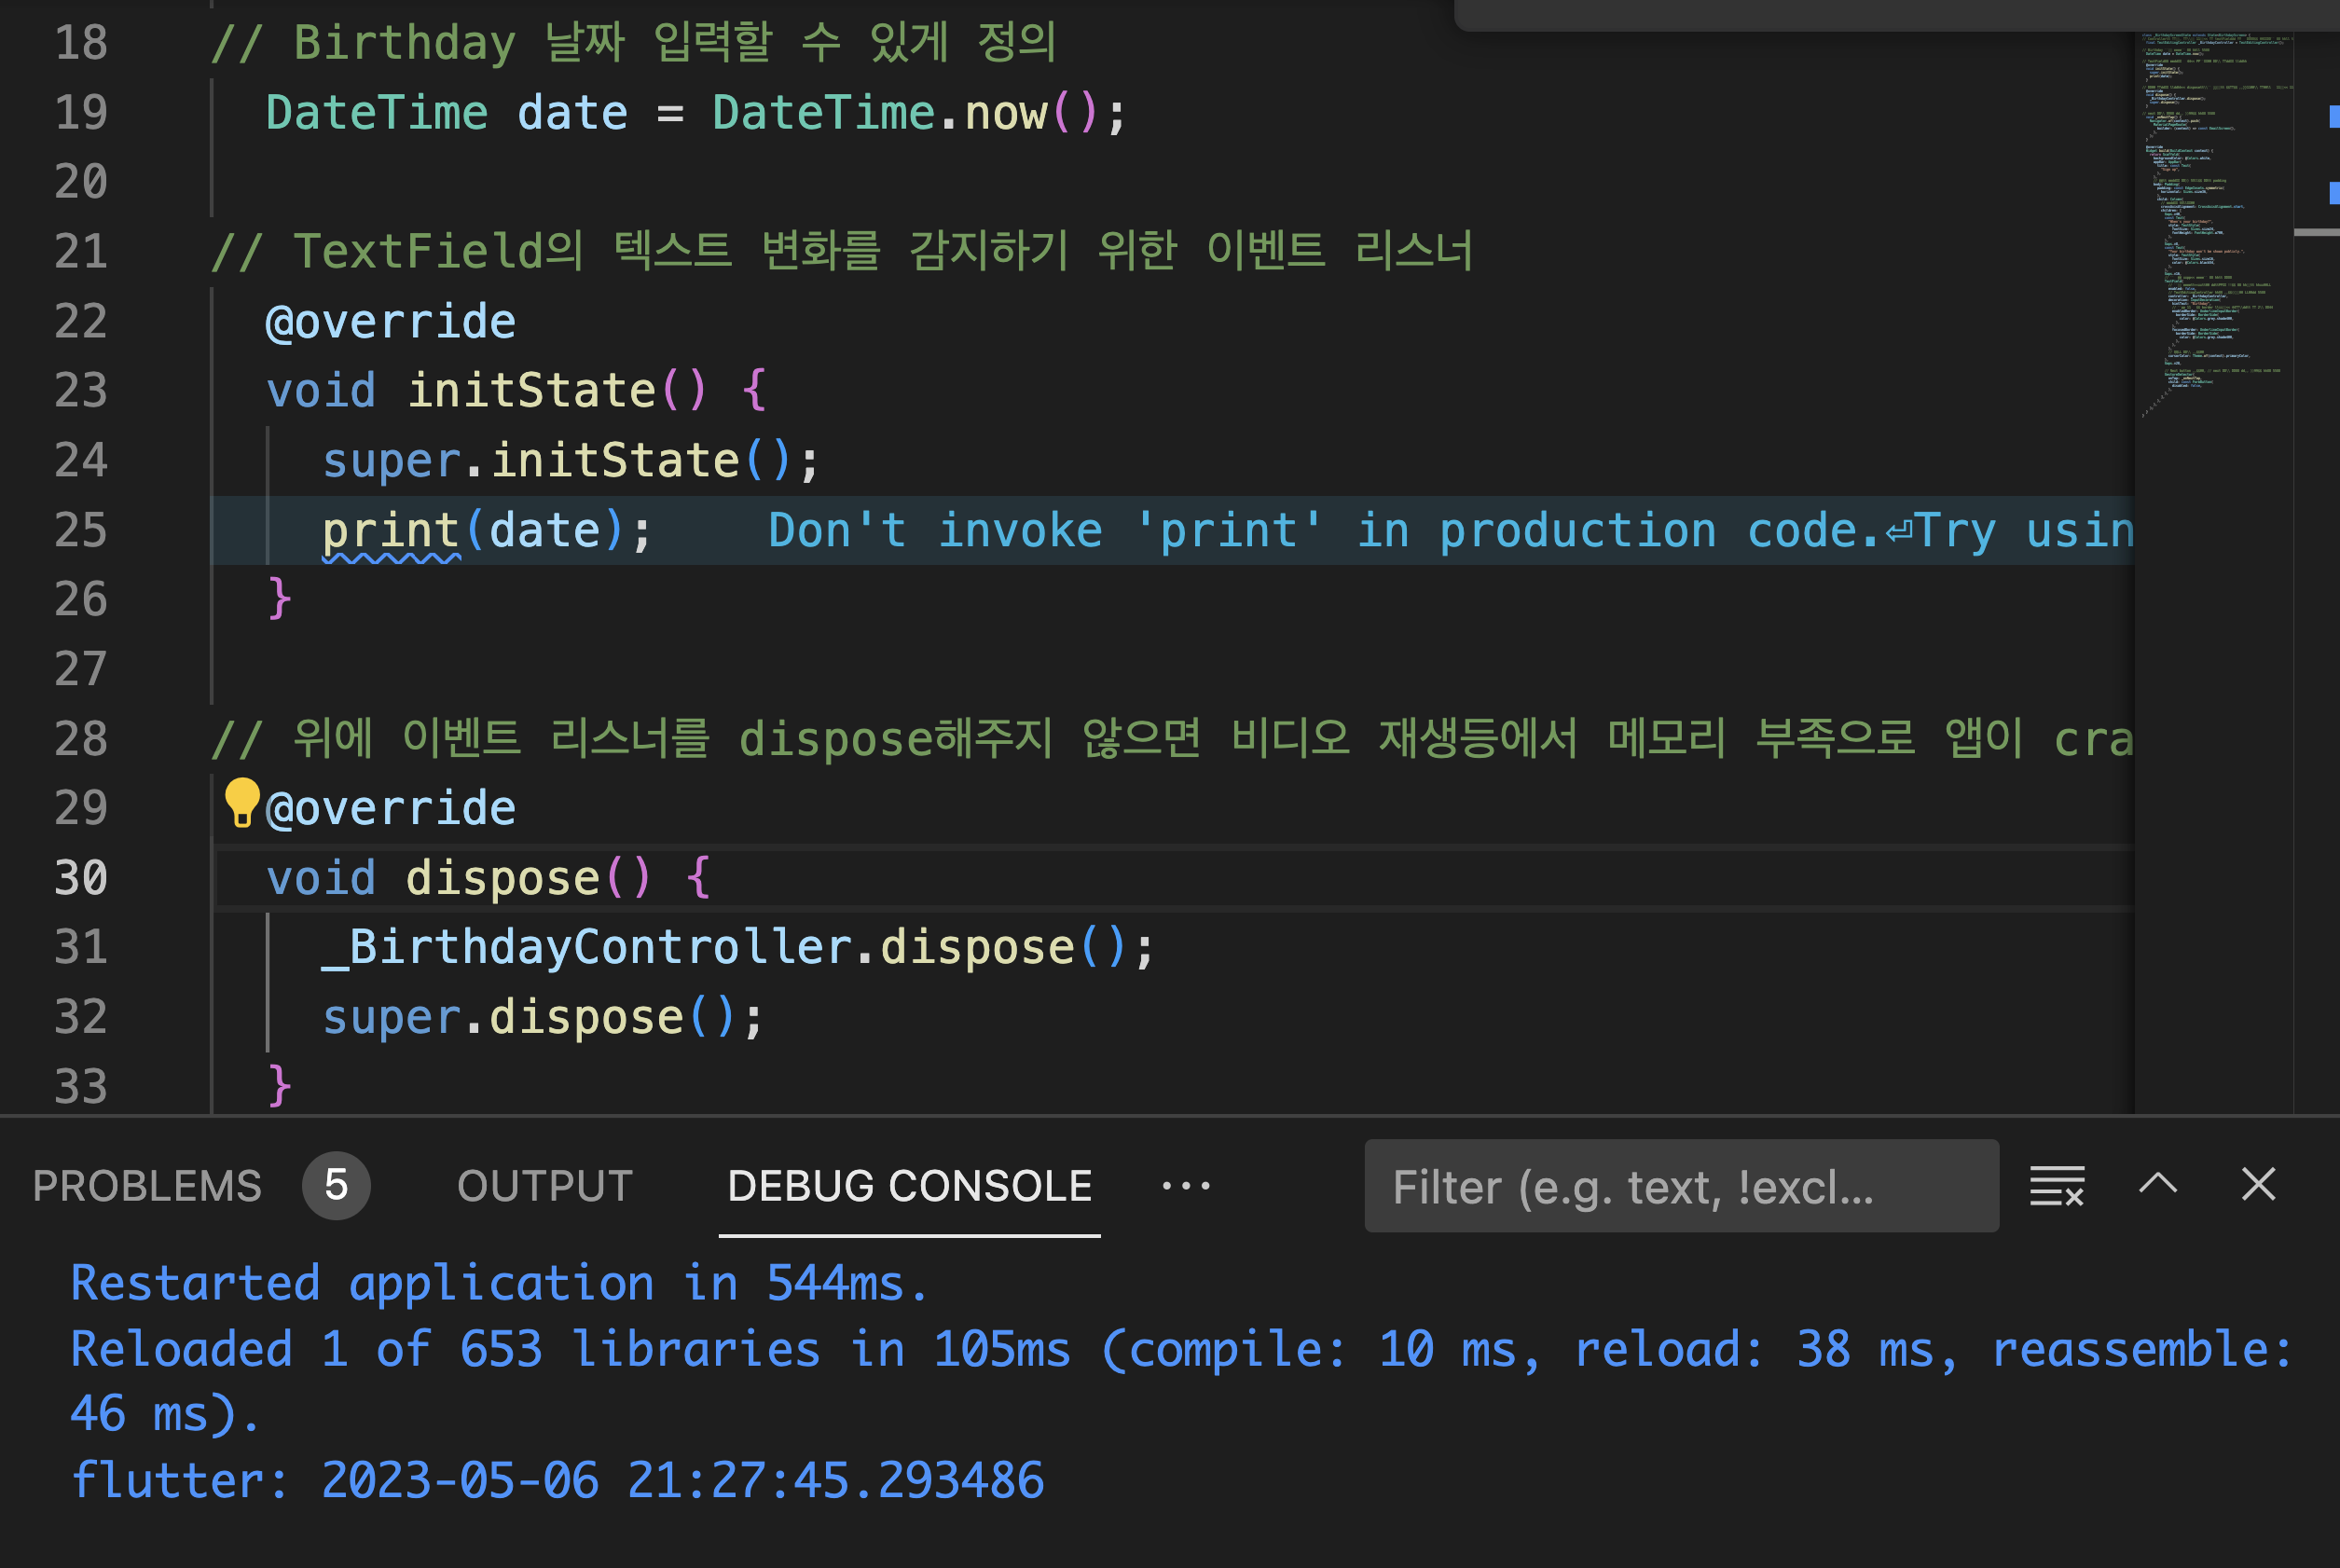
// Birthday 날짜 입력할 수 있게 정의
DateTime date = DateTime.now();
// TextField의 텍스트 변화를 감지하기 위한 이벤트 리스너
@override
void initState() {
super.initState();
//print(date.toString().split(" ").first); 년도월일만 나오게 하는 split
final textDate = date.toString().split(" ").first;
_BirthdayController.value = TextEditingValue(text: textDate);
}
------------------

지금 여기는 날짜만 나오게 되어 버렸으니 해당 코드 container로 감싸자
      bottomNavigationBar: BottomAppBar(
        child: SizedBox(
          height: 300,
          child: CupertinoDatePicker(
            maximumDate: initialDate,
            initialDateTime: initialDate,
            mode: CupertinoDatePickerMode.date, //년월만 나오게 해주기
            onDateTimeChanged: _setTextFieldDate,
          ),
        ),
      ),
    );
  }
}
4.9 Login Form
login_screen.dart
    Navigator.of(context).pop();
  }


----------------------
//이메일로 로긴 했을 때 넘어가는 플로우 만들기
  void _onEmailLoginTap(BuildContext context) {
    Navigator.of(context).push(
      MaterialPageRoute(
        builder: (context) => const LoginFormScreen(),
      ),
    );
  }
  ----------------------

                  Gaps.v40,
  ----------------------

              // login했을 때 유저정보가 들어간 상태로 만들어주기 위해 _onEmailLoginTap 생성
              GestureDetector(
                onTap: () => _onEmailLoginTap(context),
                child: const AuthButton(
                  icon: FaIcon(FontAwesomeIcons.user),
                  text: 'Use email and password',
                ),
              ),
  ----------------------                ----------------------
              Gaps.v16,
login_form_screen.dart
//global key: 고유 식별자 역할, 폼의 state에 접근, 폼의 메서드 실행 목적
  @override
  State<LoginFormScreen> createState() => _LoginFormScreenState();
}
----------------------
class _LoginFormScreenState extends State<LoginFormScreen> {
  //global key: 고유 식별자 역할, 폼의 state에 접근, 폼의 메서드 실행 목적
  final GlobalKey<FormState> _formkey = GlobalKey<FormState>();
----------------------


----------------------
child: Form(
            //global key: 고유 식별자 역할, 폼의 state에 접근, 폼의 메서드 실행 목적
            key: _formkey,
            child: Column(
              children: [
                Gaps.v28,
                ----------------------
//이메일과 비번을 적절한 포맷으로 넣었는지 체크하는 함수, 파라메터
--------------------
//이메일과 비번을 적절한 포맷으로 넣었는지 체크하는 함수
void _onSubmitTap() {
_formkey.currentState?.validate();
}
--------------------
@override
Widget build(BuildContext context) {
child: Form(
//global key: 고유 식별자 역할, 폼의 state에 접근, 폼의 메서드 실행 목적
key: _formkey,
child: Column(
children: [
Gaps.v28,
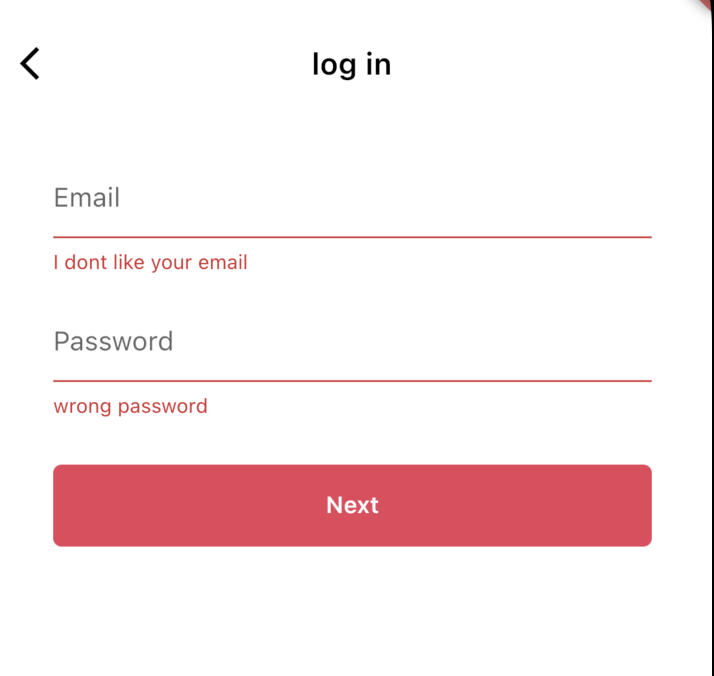
TextFormField(
decoration: const InputDecoration(
hintText: "Email",
),
--------------------
//이메일과 비번을 적절한 포맷으로 넣었는지 체크하는 파라메터
validator: (value) {
return "I dont like your email";
},
),
--------------------
Gaps.v16,
TextFormField(
decoration: const InputDecoration(
hintText: "Password",
),
--------------------
//이메일과 비번을 적절한 포맷으로 넣었는지 체크하는 파라메터
validator: (value) {
return "wrong password";
},
),
--------------------
Gaps.v28,
GestureDetector(
onTap: _onSubmitTap,
child: const FormButton(disabled: false))
],
)),
),
);
}
}
한 방법이 더 있는데 좀 이해하기 어려움
---------------
  // //이메일과 비번을 적절한 포맷으로 넣었는지 체크하는 mapping(유효성 검사2)
Map<String, String> formData = {};

  // //이메일과 비번을 적절한 포맷으로 넣었는지 체크하는 함수(유효성 검사2)
  void _onSubmitTap() {
    if (_formkey.currentState != null) {
      if (_formkey.currentState!.validate()) {
        _formkey.currentState!.save();
        //print(formData.values);
        Navigator.of(context).push(
          MaterialPageRoute(
            builder: (context) => const InterestsScreen(),
          ),
        );
      }
    }
  }
---------------


//이거는 2개 다 써야함
---------------
                  //이메일과 비번을 적절한 포맷으로 넣었는지 체크하는 파라메터(유효성 검사1)
                  validator: (value) {
                    if (value != null && value.isEmpty) {
                      return "I dont like your email";
                    }
                    return null;
                  },

                  //이메일과 비번을 적절한 포맷으로 넣었는지 체크하는 파라메터(유효성 검사2)
                  //   onSaved: (newValue) => (newValue) {
                  //     if (newValue != null) {
                  //       formData["email"] = newValue;
                  //     }
                  //   },
                ),
     ---------------

          ---------------
                      //이메일과 비번을 적절한 포맷으로 넣었는지 체크하는 파라메터(유효성 검사1)
                     validator: (value) {
                    if (value != null && value.isEmpty) {
                      return "wrong password";
                    }
                    return null;
                  },

                  //이메일과 비번을 적절한 포맷으로 넣었는지 체크하는 파라메터(유효성 검사2)
                  // onSaved: (newValue) => (newValue) {
                  //   if (newValue != null) {
                  //     formData["wrong password"] = newValue;
                  //   }
                  // },
                ),
                     ---------------
728x90
반응형
'Programing > Flutter' 카테고리의 다른 글
'Programing/Flutter' Related Articles
more


Comments